
How Do You Turn a Two-Day Science Experiment into a
10-Minute Virtual Learning Experience?
- Published on: October 16, 2026
- Updated on: October 20, 2026
- Reading Time: 6 mins
-
Views
1. Plan the Virtual Lab Around What Students Should Notice
Fitting a Multi-Day Investigation into a Session
Splitting a Complex Setup into Parts
2. Hold Back the Answer Until the Student Finds It
3. Add Multiple Angles So Students Don’t Miss Anything
4. Settle the Big Decisions in the Storyboard
5. Give Younger Students More Guidance and Older Ones More Freedom
Elementary School
Middle and High School
6. Accessibility Should Come in at the Beginning Itself
Conclusion: Is Your Virtual Lab Ready for Every Student?
FAQs
In edtech, many K-12 science programs make their students perform hands-on investigations by following a set procedure with real materials. Students have to record their observations and, based on that, draw their own conclusions.
For curriculum providers, these investigations need to work as intended. Students need to be present. The kits need to be available. Everyone needs a clear view of the apparatus. Some investigations run over two days, so students need access to the materials and the activity throughout the process.
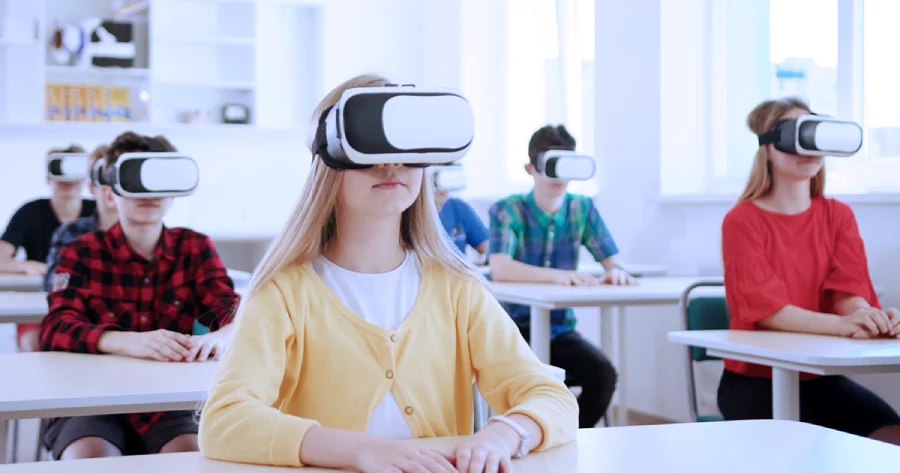
Virtual science labs can help address these constraints by allowing students to carry out investigations beyond the classroom. Students can repeat activities, examine details more closely, and work at their own pace. But designing an effective virtual lab involves more than recreating equipment and procedures on a screen.
How do we design realistic virtual labs that achieve the intended learning outcomes?
As an instructional designer at Magic EdTech, I’ve been working on this challenge with a K–12 science curriculum provider. Together, we’re turning its classroom investigations into interactive 3D virtual labs that students can run on their own and revisit whenever they need to. Every virtual lab starts with one question: what does the student need to observe and understand? What is the main learning outcome?
1. Plan the Virtual Lab Around What Students Should Notice
Every science investigation centers on a key moment, or observation that helps students understand the concept that is otherwise difficult to visualize. In one such science program, students were meant to perform an activity over a period of two days to understand how materials move through a membrane. Converting this program into a virtual setup reduced the time to perform the activity and enhanced the observations by making an ambiguous concept observable.
When instructional designers translate an investigation into a virtual lab, we first identify the learning outcomes and what exactly students need to observe. This gives us a clear starting point for designing the activity. We can adjust the timing of the steps and how the equipment is set up, as long as the student still sees that change clearly.
These two examples below show what that looks like in practice.
Example 1: Fitting a Multi-Day Investigation into One Session
In an activity that was performed in a physical lab setup, students observed a mushroom package for 10 minutes, sprayed it with water, and then observed it over two days. A virtual lab can’t ask a student to wait that long, so we redesigned the activity to fit within a single session, without diluting the concept that the student needed to observe.
Example 2: Splitting a Complex Setup into Parts
In another activity, the students set up apparatus in the class to observe how dialysis occurs. The dialysis tubing activity shows how materials move through a membrane. In class, it runs for about two days, and the setup is complicated for students. If they miss a step or an observation, the concept becomes hard to follow. In our virtual course design, we divided the activity into two parts. First, students set up the dialysis tubing using virtual materials. They can repeat the activity to understand it better. Then, they perform the investigation using that setup in the next part. Here, students get to see the setup they created and use it to observe the dialysis process. This lets students revisit the apparatus and repeat the steps as needed.
2. Hold Back the Answer Until the Student Finds It
Students follow an order when carrying out a science investigation. They follow the steps, record what they observe, and arrive at a conclusion. Those conclusions may differ from one student to another, giving teachers an opportunity to discuss their observations and interpretations with the class.
Teachers can hold back answers until all students have reached their conclusions in an investigation or lab that is performed in a class. However, in a virtual lab, the screens also need to preserve that opportunity for discovery. If students spot a label or summary that reveals the answer, then they won’t be able to work it out on their own. Design reviews need to be conducted so they can catch and fix issues before the investigation reaches the students.
3. Add Multiple Observation Angles So Students Don’t Miss Anything
A virtual lab offers advantages that the physical version doesn’t. When a classroom with around 20 students has to gather around a single apparatus, you know that students in the back may miss small but important details. Especially when they have little time at hand to observe the change.
We gave each setup top, side, and additional views, plus zoomed clips to make important details easier to observe. Students can now examine these details more closely and revisit the views whenever they need to.
4. Settle the Big Learning Decisions in the Storyboard
All virtual lab design decisions need to be made before development begins. For us IDs, the storyboard is where that happens. It maps the experience screen by screen, from the opening screen to the final pop-up. Anyone reading it should be able to picture what the student sees and does.
The storyboard is also where we go beyond the client’s original document. We research the concept, suggest better ways to run an activity on screen, and agree on every change with the client before building. By the time development begins, the key learning and design decisions have been finalized, helping reduce avoidable rework.
Building virtual labs or simulations into your science product? See how our learning designers and Unity developers work together on immersive learning solutions.
5. Give Younger Students More Guidance and Older Students More Freedom
Students at different stages of learning need different kinds of support. You cannot expect a Grade 4 student to understand concepts that a Grade 8 student can. That is why we adapt our interfaces and level of guidance to suit each grade band.
Elementary School
We removed most of the buttons so attention stayed on the apparatus. After key observations, a short pop-up explains the idea behind what the student just saw. A young student working at home without a teacher may need this additional context to understand the observation and draw a conclusion.
Middle and High School
Older students get the full set of controls and no concept pop-ups. They can make and test their own hypotheses.
The investigations are designed with a lot of research into US grade bands and curriculum guidelines, including NGSS. We then tested the first few labs with end users and adjusted the rest based on the feedback received. This enhanced the user experience.
6. Virtual Accessibility Should Come in at the Beginning
Accessibility is an important consideration in virtual lab development. A virtual lab’s accessibility depends on decisions made during design and development, so these requirements need to be considered during planning rather than after the lab has been built.
In our project, accessibility was not part of the original scope. We subsequently began applying accessibility standards to previously developed investigations, using a plugin and support from a specialist team. We are now developing fully accessible learning modules or investigations.
Is Your Virtual Lab Ready for Every Student?
A virtual science lab works best when students can carry out an investigation, observe what happens, and develop their own understanding of the concept. That includes the student who missed the dialysis lab, the one who couldn’t see the apparatus from the back of the room, and the younger student who needs additional guidance while working at home. Accessibility is another consideration when designing these experiences.
At Magic EdTech, our team brings together learning designers and developers to take virtual learning from the initial concept and storyboard through to a functional, interactive lab. We work with education organizations to understand learning requirements, refine the proposed experience, and develop interactive content that can be integrated into their learning platforms.
Planning a virtual learning program? Talk to our team about where to start.

Namrata is an instructional designer with over 15 years of experience who creates engaging learning solutions for K-12, higher education, and corporate learners. Her expertise spans digital learning design, curriculum development, and teacher training. She has also authored science textbooks for both CBSE and ICSE boards. At Magic EdTech, she leads digital instructional design initiatives, collaborating with global stakeholders to design impactful and learner-centric experiences.
FAQs
A simulation usually shows students what happens. A virtual experiment requires students to carry out the process themselves and reach a conclusion. It all depends on how the process was set up. Simulations could also be used for inquiry when the student is required to investigate and draw his/her own conclusions from evidence gathered.
These virtual labs work better when combined with hands-on labs. A virtual lab offers students a chance to make up for a missed experiment, to conduct an experiment once again, or to get better insight. Class discussions help integrate the concept. However, there are some processes that could be better studied via a virtual lab, but it does not mean that a physical process will be replaced by it.
Accessibility requirements must be integrated at the planning/design phase, not after the design process. It depends on the involved technology and the learners' needs. The testing process is crucial to detect any barriers.

Get In Touch
Reach out to our team with your question and our representatives will get back to you within 24 working hours.